网站为 OnlyLady:http://hzp.onlylady.com/brand.html
创建
- 创建项目
$ scrapy startproject onlylady
- 创建爬虫
$ cd onlylady
$ scrapy genspider ol hzp.onlylady.com
结构如下:
├── onlylady
│   ├── __init__.py
│   ├── items.py
│   ├── middlewares.py
│   ├── pipelines.py
│   ├── settings.py
│   └── spiders
│       ├── __init__.py
│       └── ol.py
└── scrapy.cfg
需要爬取的信息
- 获取所有品牌
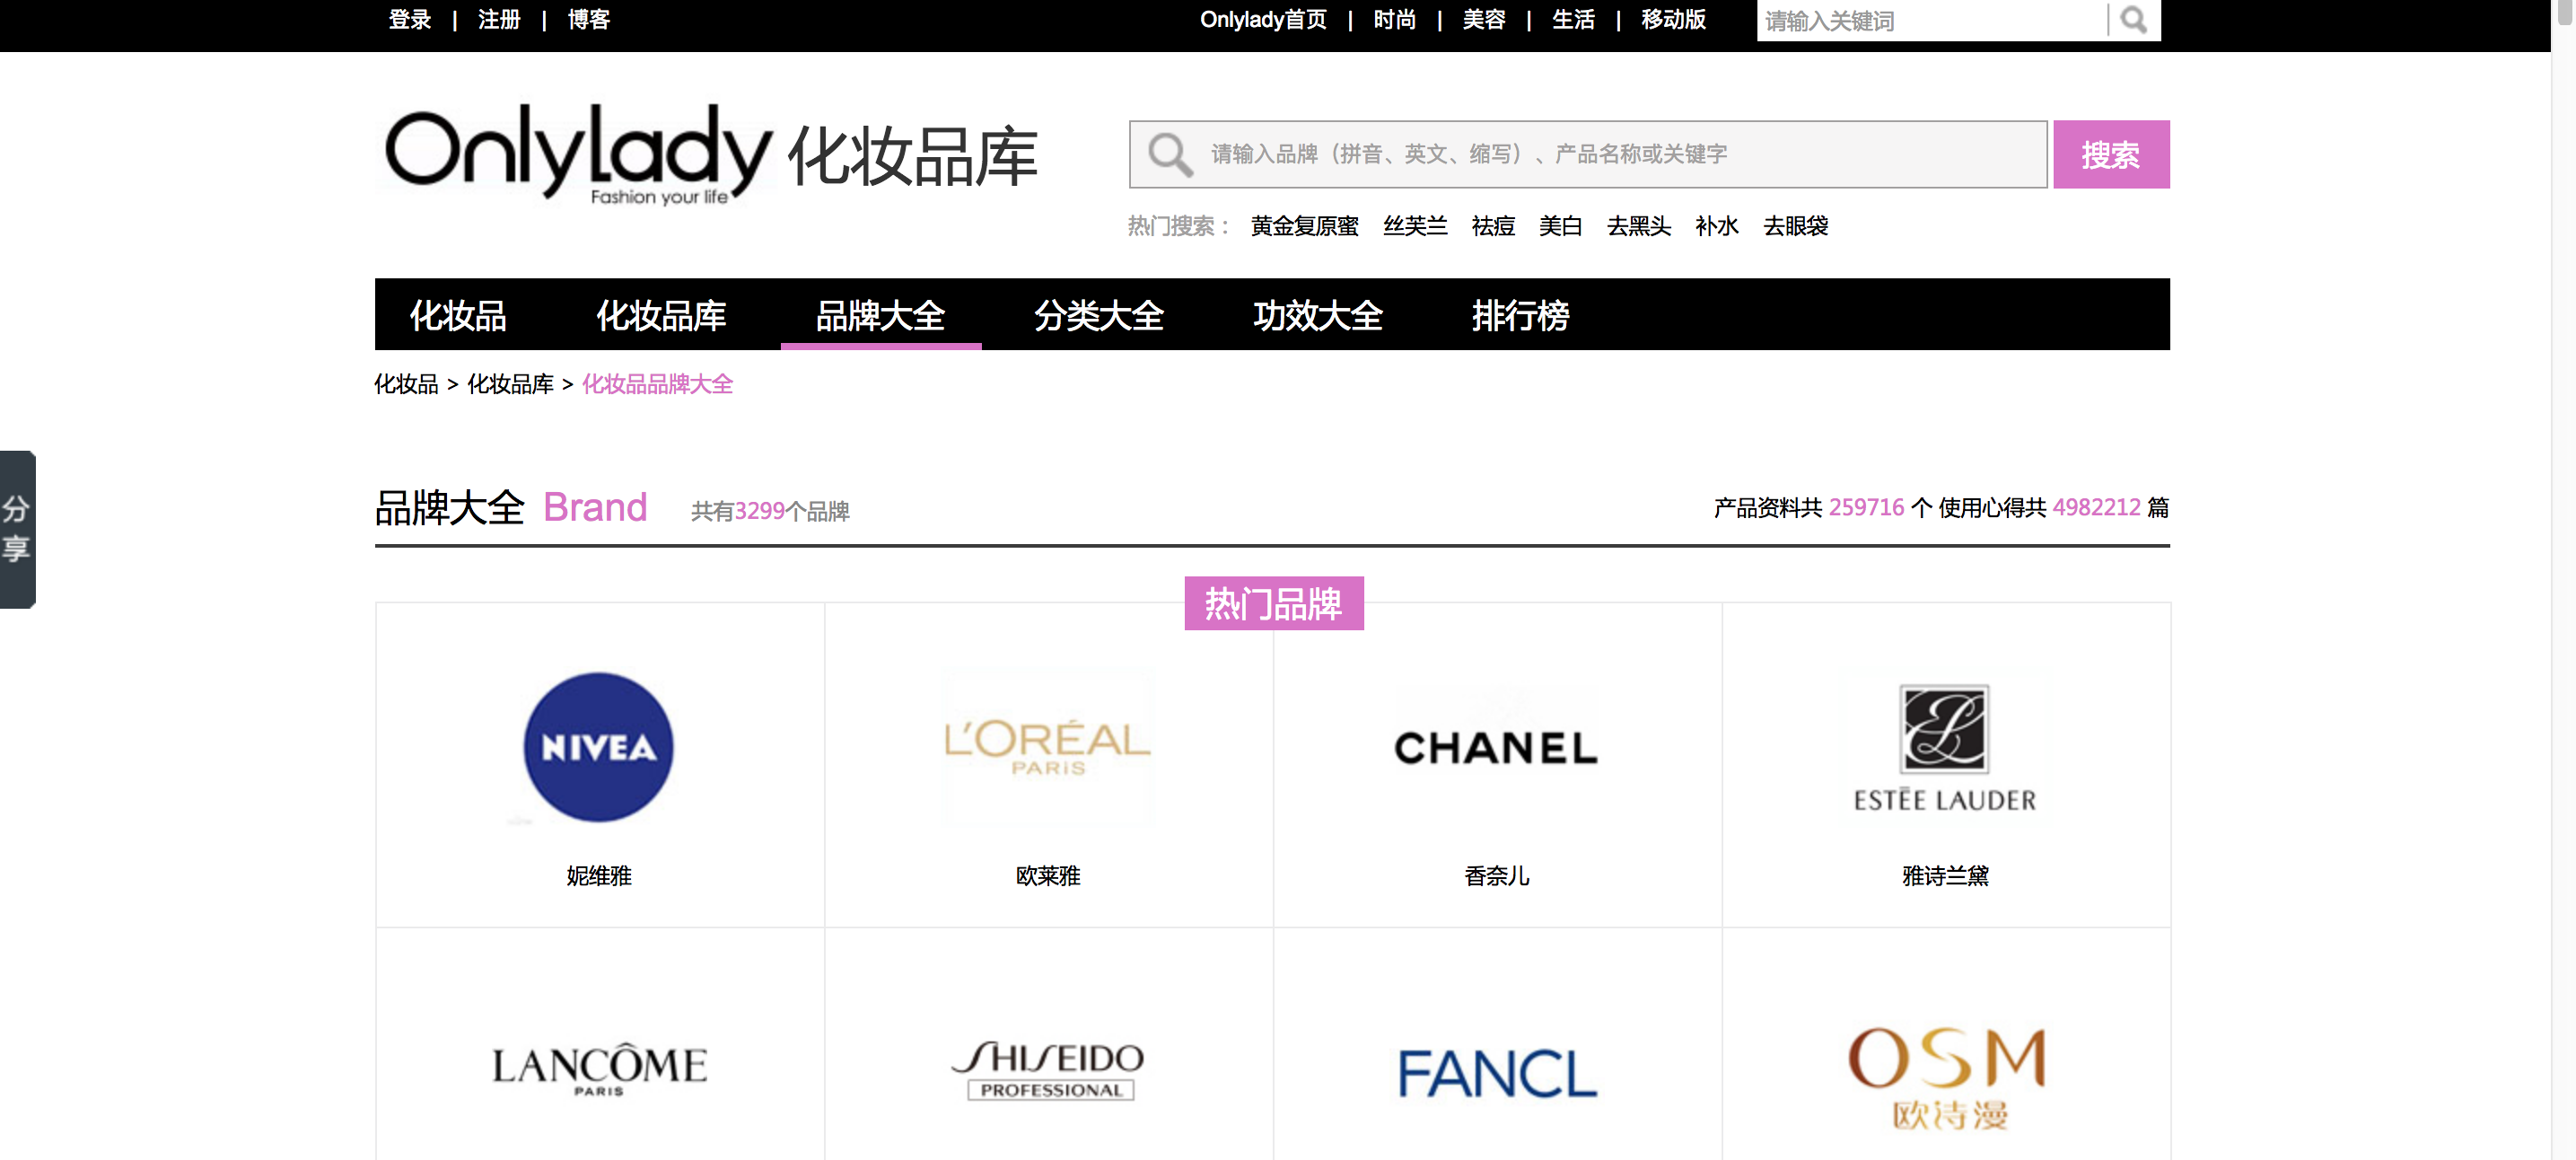
如图,该页面有所有的品牌,我们按照字母排序开始,获取到所有的品牌链接,并进入
- 获取某一个品牌所有的商品链接
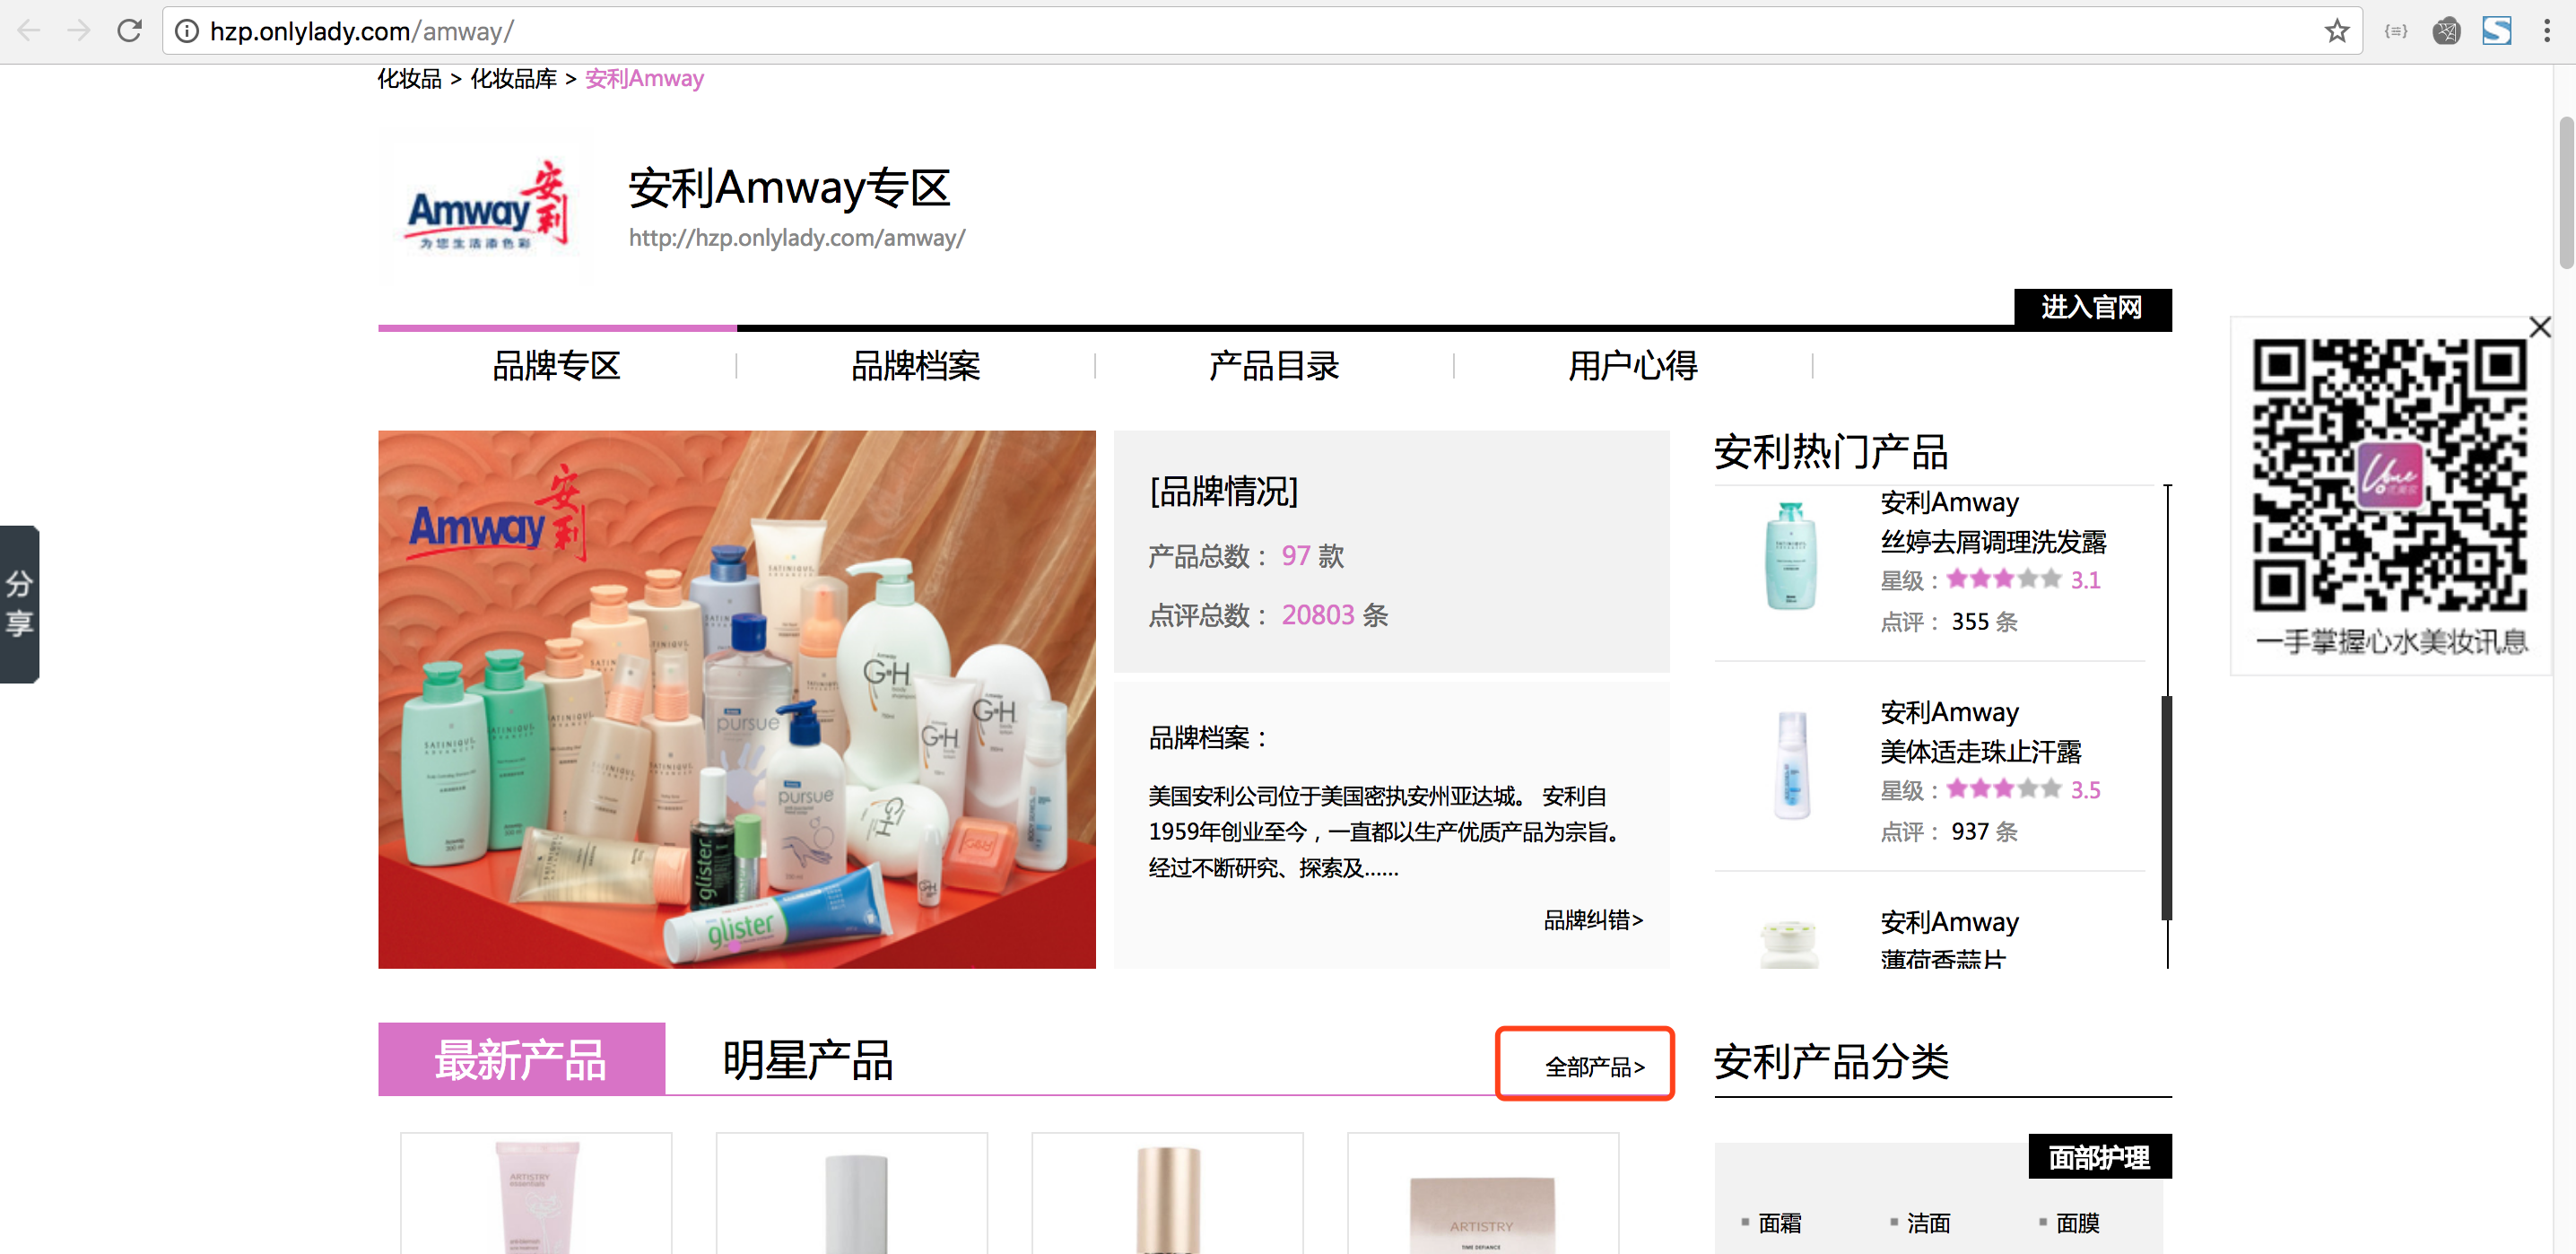
如果红色框所示,该链接点击进入可以到达所有商品的页面
- 所有商品的页面之后,进入每个商品的详情页面
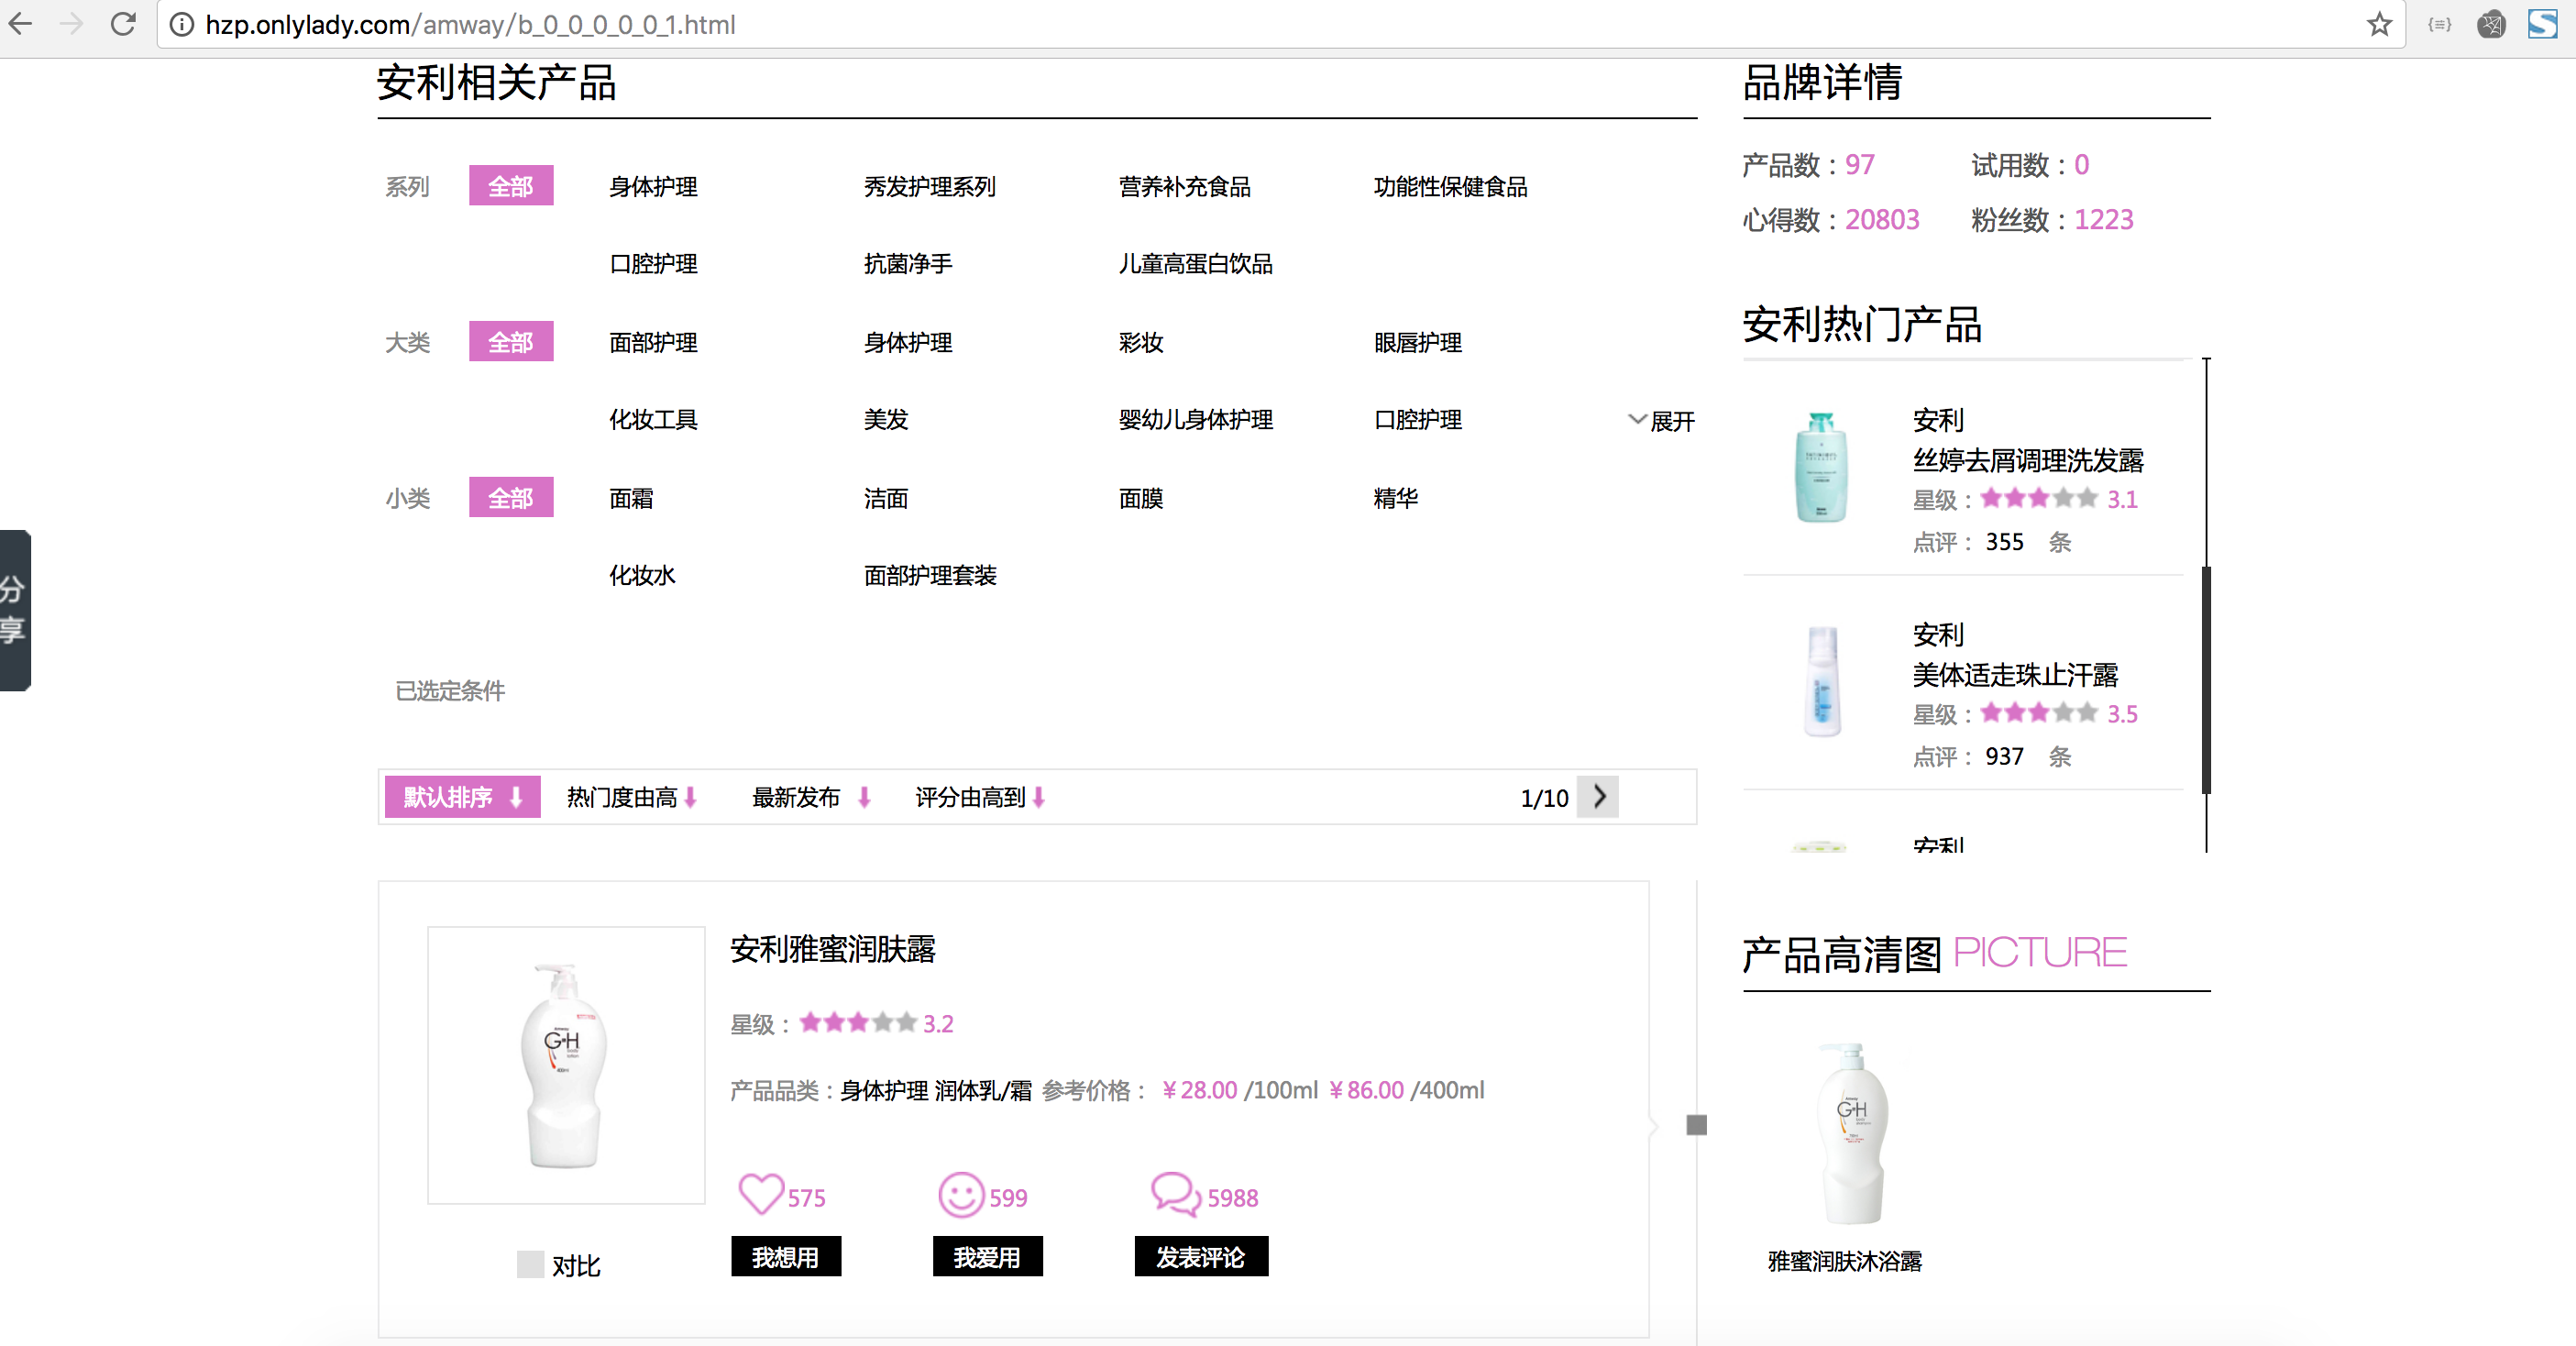
获取到所有商品详情页的链接并进入,有一个信息我们要在这个页面爬取,就是商品展示的图片,还有注意还要处理分页的内容
- 进入详情页
这个页面我们需要商品名、所属品牌名,所属分类、价格 (只取第一个)
- 综上,我们需要商品的
商品名、所属品牌名,所属分类、价格 (只取第一个)、商品展示的图片
编写代码逻辑
- items.py 文件,编写的内容就是我们需要获取的信息
# -*- coding: utf-8 -*-

# Define here the models for your scraped items
#
# See documentation in:
# http://doc.scrapy.org/en/latest/topics/items.html

import scrapy

class OnlyLadyItem(scrapy.Item):
    zh_name = scrapy.Field()
    type = scrapy.Field()
    brand = scrapy.Field()
    price = scrapy.Field()
    image_url = scrapy.Field()
- spider 文件夹中的 ol.py,也就是爬虫的逻辑文件,获取网页的 css 标签不做截图说明,自己去网页中查看
# -*- coding: utf-8 -*-
import scrapy

from onlylady.items import OnlyLadyItem


class OlSpider(scrapy.Spider):
    name = 'ol'  # 爬虫名称
    allowed_domains = ['hzp.onlylady.com']  # 允许这个爬虫爬取的域名
    start_urls = ['http://hzp.onlylady.com/brand.html']  # 起始的页面
    headers = {
        "HOST": "hzp.onlylady.com",
        "Referer": "http://hzp.onlylady.com/cosmetics.html",
        "User-Agent": "Mozilla/5.0 (Macintosh; Intel Mac OS X 10_11_6) AppleWebKit/537.36 (KHTML, like Gecko) Chrome/66.0.3359.139 Safari/537.36"
    }

    # 设置 headers,下面的每一个如果要接着爬取的时候,写进入

    def parse(self, response):
        # 获取所有品牌的链接
        brand_urls = response.css('#sortByLetter .brandsWraper a::attr(href)').extract()
        for brand_url in set(brand_urls):
            yield scrapy.Request(brand_url, headers=self.headers, callback=self.more)

    def more(self, response):
        # 进入某个品牌链接之后,获取进入所有商品的链接
        more_url = response.css('.more::attr(href)').extract_first('')
        yield scrapy.Request(more_url, headers=self.headers, callback=self.goods)

    def goods(self, response):
        # 进入所有商品的链接之后,获取商品的详情链接,以及图片链接
        goods_nodes = response.css('.commentItem .left .imgWraper a')
        for goods_node in goods_nodes:
            goods_url = goods_node.css('::attr(href)').extract_first('')  # 获取商品详情页链接
            image_url = goods_node.css('img::attr(src)').extract_first('')  # 获取商品展示图片的连接
            yield scrapy.Request(goods_url, headers=self.headers, meta={"image_url": image_url}, callback=self.detail)
            # meta 表示把图片的 url 暂时存起来,下面的一些函数可以来 meta 来接收这个参数

        # 获取下一页的信息,处理分页的逻辑
        next_url = response.css('.comment_bar .page .next::attr(href)').extract_first('')
        if next_url:
            yield scrapy.Request(next_url, headers=self.headers, callback=self.goods)

    def detail(self, response):
        # 到达详情页之后,获取详情页中的一些参数,并提交到我们编写的 OnlyLadyItem() 中,记得要 import 进来,yield 提交 items
        zh_name = response.css('.detail_pro .detail_l .p_r .name h2::text').extract_first('')
        type = response.css('.detail_pro .detail_l .p_r dl')[0].css('dd a::attr(title)')[0].extract()
        brand = \
            response.css('.detail_pro .detail_l .p_r dl')[0].css('dd')[1].css('a::attr(title)').extract_first('').split(
                ' ')[0]
        try:
            price = response.css('.price::text').extract_first('').split('¥')[-1]
        except:
            price = ""
        image_url = response.meta.get('image_url', 'image_url')  # 通过 response.meta.get 来接收上个函数存储的 meta 中的 image_url
        items = OnlyLadyItem()
        items['zh_name'] = zh_name
        items['type'] = type
        items['brand'] = brand
        items['price'] = price
        items['image_url'] = image_url
        yield items
这个爬取逻辑采用的是 css 选择器来做的,xpath 也可以,使用的是 response.xpath,标签定位不做说明,我习惯使用 css 选择器
- 管道 pipelines.py 编写,我们获取图片下载,然后其余的东西写到一个 txt 文件当中
# -*- coding: utf-8 -*-

# Define your item pipelines here
#
# Don't forget to add your pipeline to the ITEM_PIPELINES setting
# See: http://doc.scrapy.org/en/latest/topics/item-pipeline.html

from onlylady.items import OnlyLadyItem
import requests
import os

class IntoTextPipeline(object):
    def process_item(self, item, spider):
        image_path = os.path.join(os.path.dirname(__file__),"onlylady")
        if not os.path.exists(image_path):
            os.makedirs(image_path)
        image_url = item['image_url']
        i = len(os.listdir('onlylady')) + 1
        # file_name = image_path + '/' + 'onlylady_' + str(i) + '.jpg'
        try:
            pic = requests.get(image_url,timeout=10)
        except:
            print("无法下载图片!")
        file_name = image_path + '/' + 'onlylady_' + str(i) + '.jpg'
        f = open(file_name,"wb")
        f.write(pic.content)
        f.close()
        image_name = file_name.split('/')[-1]
        a = [item['zh_name'], item['brand'], item['type'], item['price'], image_name]
        result = ','.join(a)
        with open("onlylady.txt","a") as t:
            t.write(result + "\n")
            t.close()

        return item
TXT 文件,一行一个,各个参数用,隔开,最后一个参数是图片名,每个商品与下载的商品图片名一致,便于对应
- 设置 setting.py 文件,开启管道,去掉如下注释,添加我们编写的那个 pipeline 的 class 名字
ITEM_PIPELINES = {
   # 'onlylady.pipelines.OnlyladyPipeline': 300,
    'onlylady.pipelines.IntoTextPipeline' : 300,
}
300 表示先后顺序,越小越优先执行
- 编写 run.py
在项目目录下创建 run.py 的文件,一键执行爬取操作
# conding:utf8

from scrapy.cmdline import execute

import sys
import os


sys.path.append(os.path.dirname(os.path.abspath(__file__)))
execute(["scrapy", "crawl", "ol"]) # 多个爬取可以写多个这个东西
这样就开始爬取了,因为商品很多,再加上要下载图片,我本地爬取大概用了 45 分钟左右爬取完毕,总共 25535 张图片
结束语
- Scrapy 的爬取效率还是很高的
- 该项目开源。开源地址如下:
- github:https://github.com/liwg1995/scrapy_get_cosmetics.git
- gitee:https://gitee.com/olei_admin/scrapy_get_cosmetics.git
- coding:https://git.coding.net/olei_me/scrapy_get_cosmetics.git
我的博客即将搬运同步至腾讯云+社区,邀请大家一同入驻:https://cloud.tencent.com/developer/support-plan?invite_code=2l2wqyvli0sg8
本文作者为 olei,转载请注明。


